
.svg)
How to Connect Stripe Payments in Rebolt Forms


In today's digital world, accepting online payments securely and seamlessly is essential for businesses of all sizes. Rebolt Forms simplifies this process by integrating with Stripe, a trusted payment gateway, allowing businesses to collect payments effortlessly. In this guide, we’ll walk you through the step-by-step process of connecting Stripe payments in Rebolt Forms.
Why Use Stripe with Rebolt Forms?
Stripe is a widely used payment processor known for its reliability, security, and ease of integration. By connecting Stripe to Rebolt Forms, you can:
- Accept credit/debit card payments securely.
- Automate payment collection for products, services, or donations.
- Track transactions and manage payments efficiently.
- Offer a smooth checkout experience to users.
Step-by-Step Guide to Connecting Stripe in Rebolt Forms
Step 1: Create a Stripe Account
If you don’t already have a Stripe account, follow these steps:
- Go to Stripe’s official website and click on Sign Up.
- Enter your email, create a password, and complete the registration.
- Provide necessary business details and verify your identity.
Step 2: Access Payment Settings in Rebolt Forms
- Log in to your Rebolt Forms account.
- Create a Form or choose a form in which you want to add stripe payment.
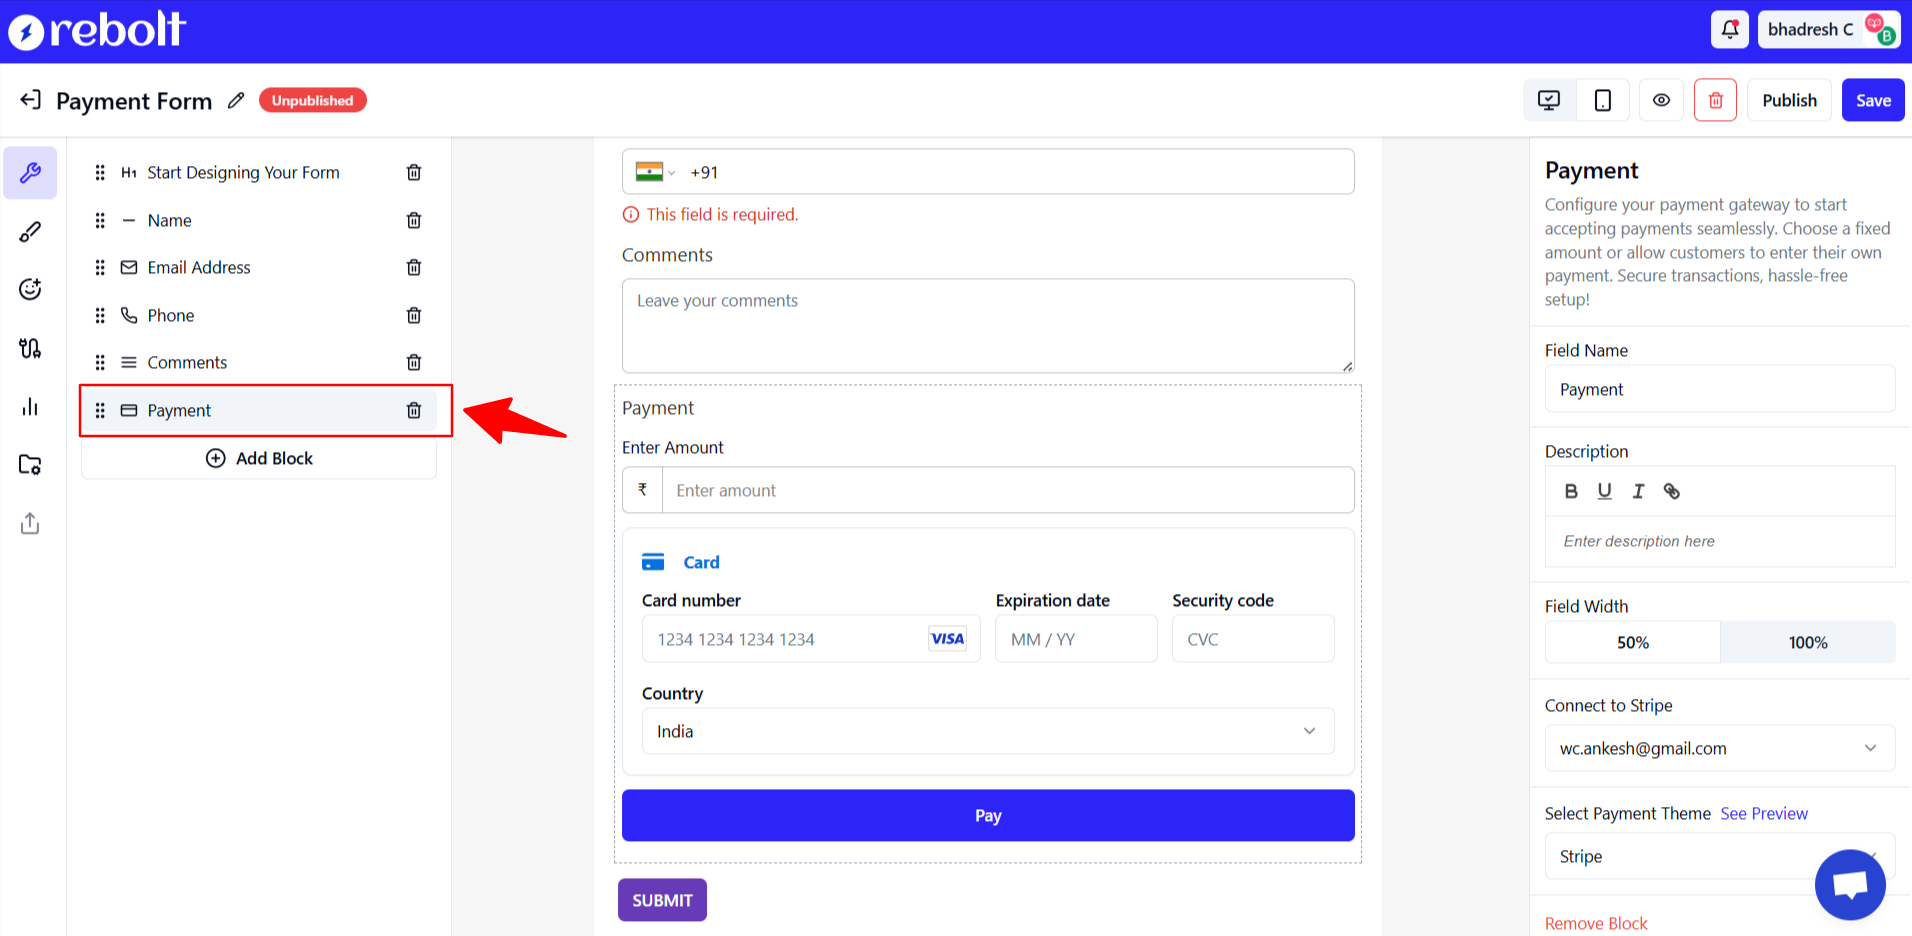
- Add the Payment Block in form.
Step 3: Connect Stripe with Rebolt Forms
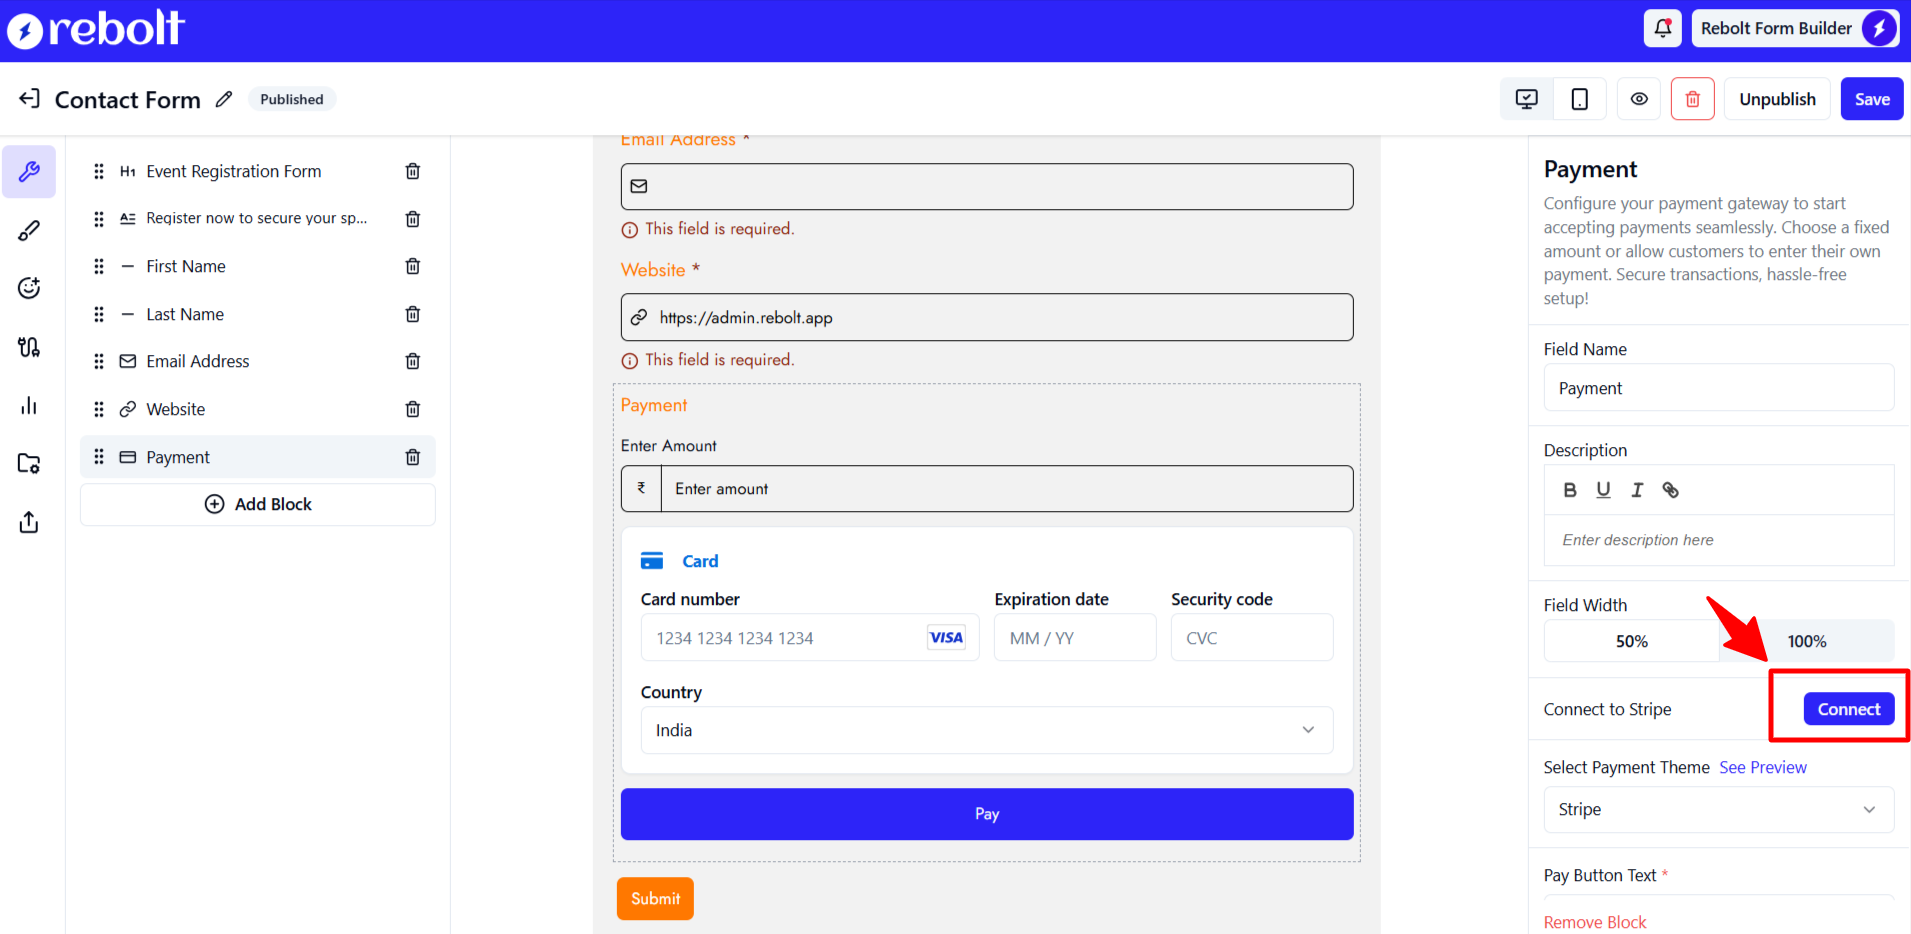
- In the Payment Settings, select Stripe as your payment provider.
- Navigate to Connect to Stripe and click on Connect.
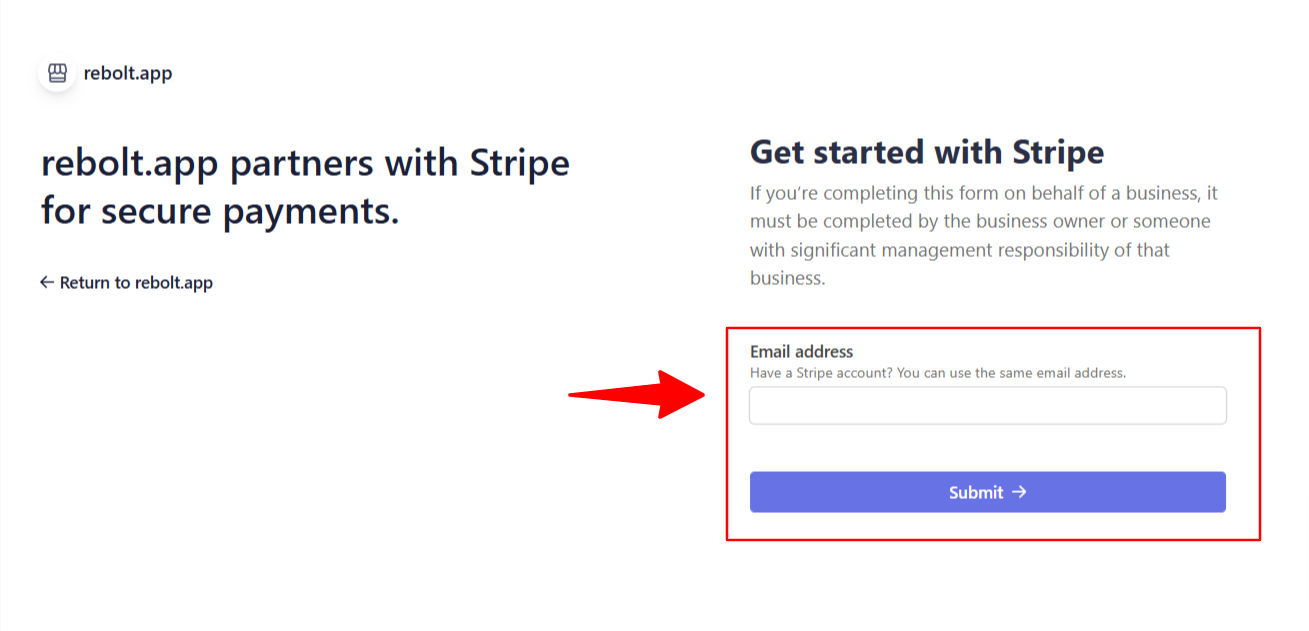
- You will be redirected to Stripe’s authorization page.
- Log in to your Stripe account (if not already logged in).
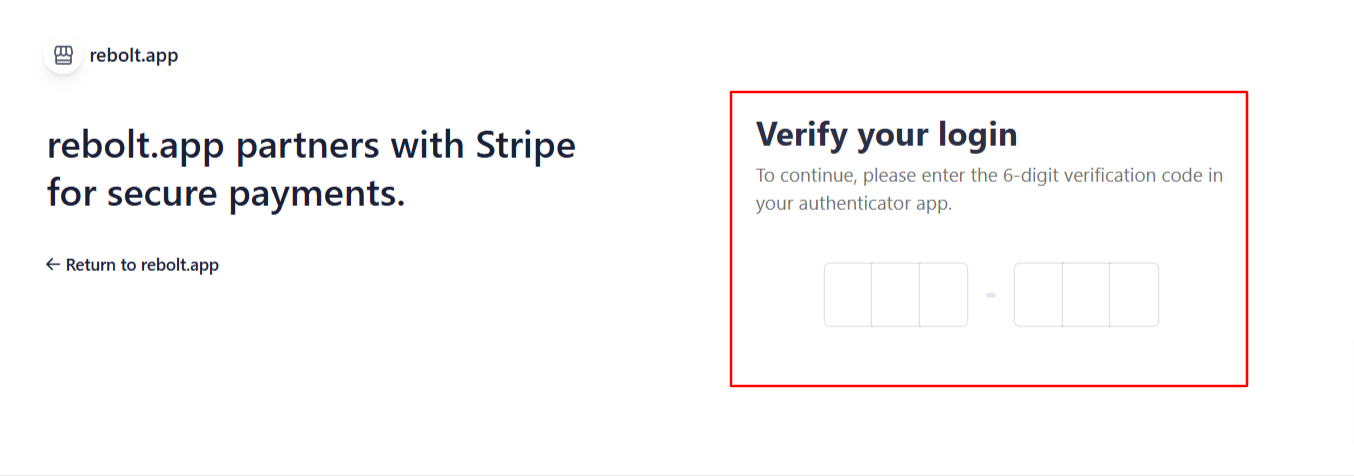
- Verify your login by adding a verification code.
- Select the account that you’d like to connect to rebolt.app and click on Connect.

- Once connected, you will be redirected back to Rebolt Forms.
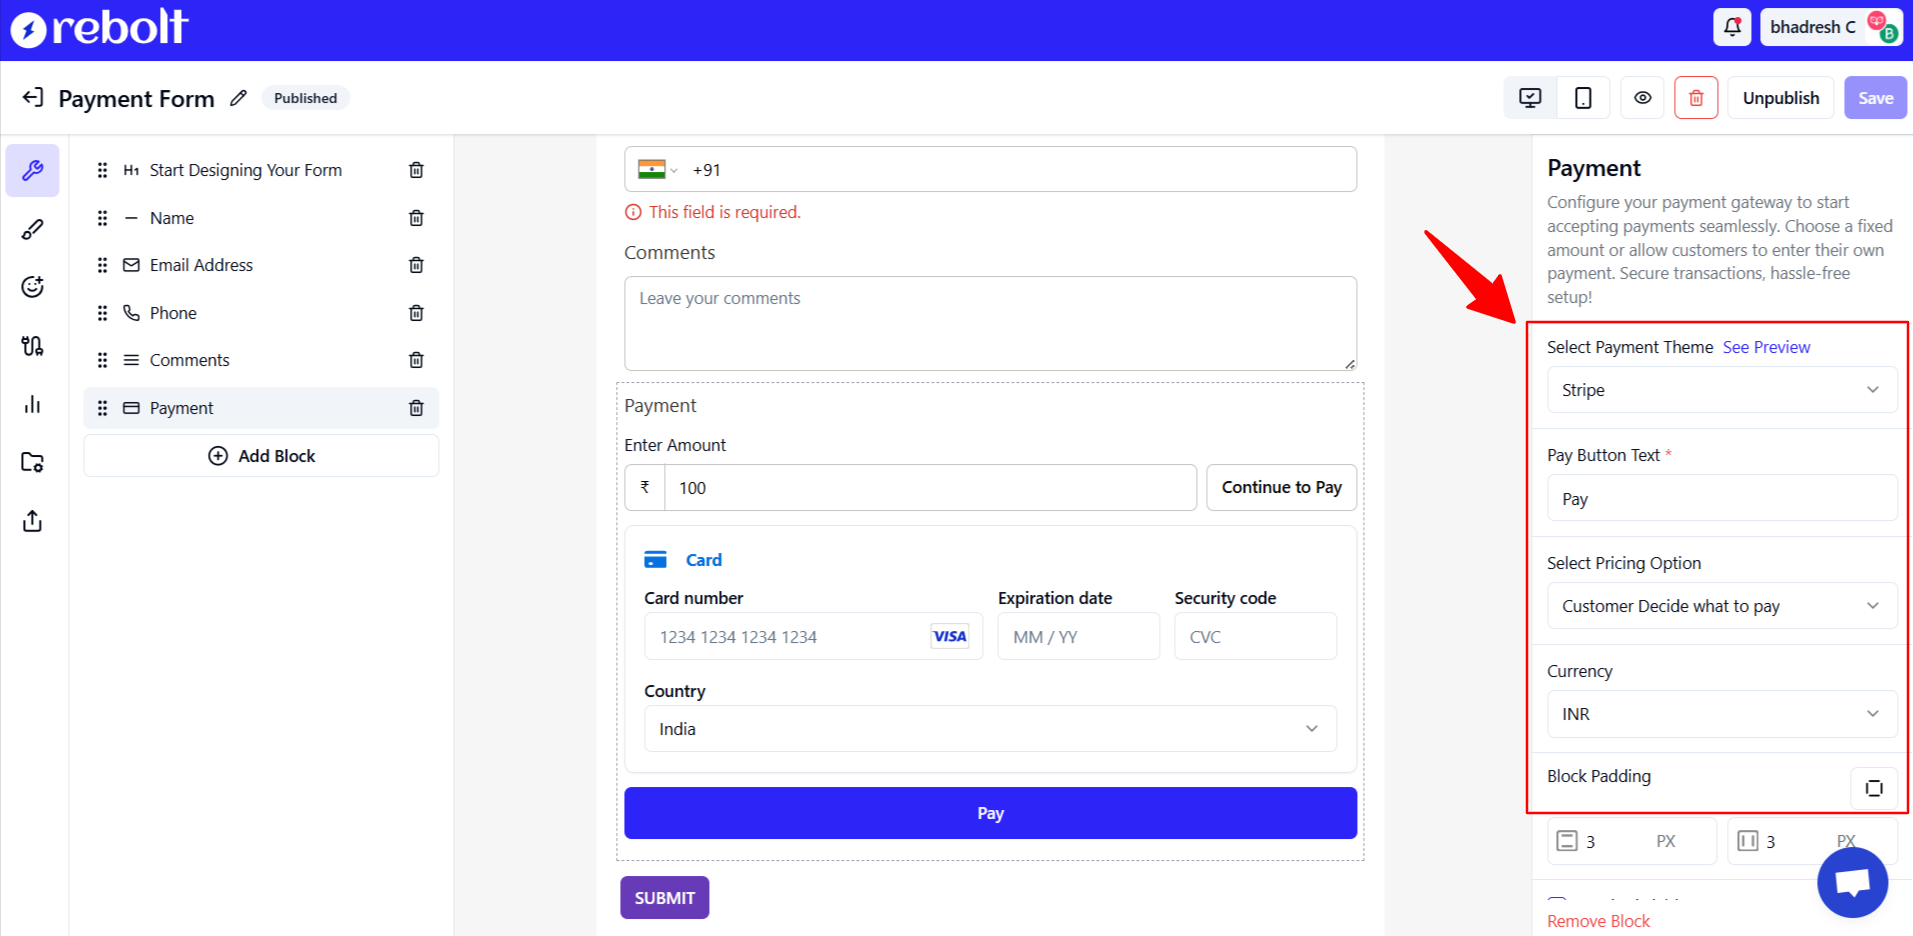
Step 4: Configure Payment Settings in Rebolt Forms
- Select payment themes from options like Stripe, Night, and Flat.
- Update Pay button text.
- Choose a pricing option between Fixed amount and Customer decide what to pay.
- Set up your preferred currency option.
- Manage Block Padding.
- Save your settings.
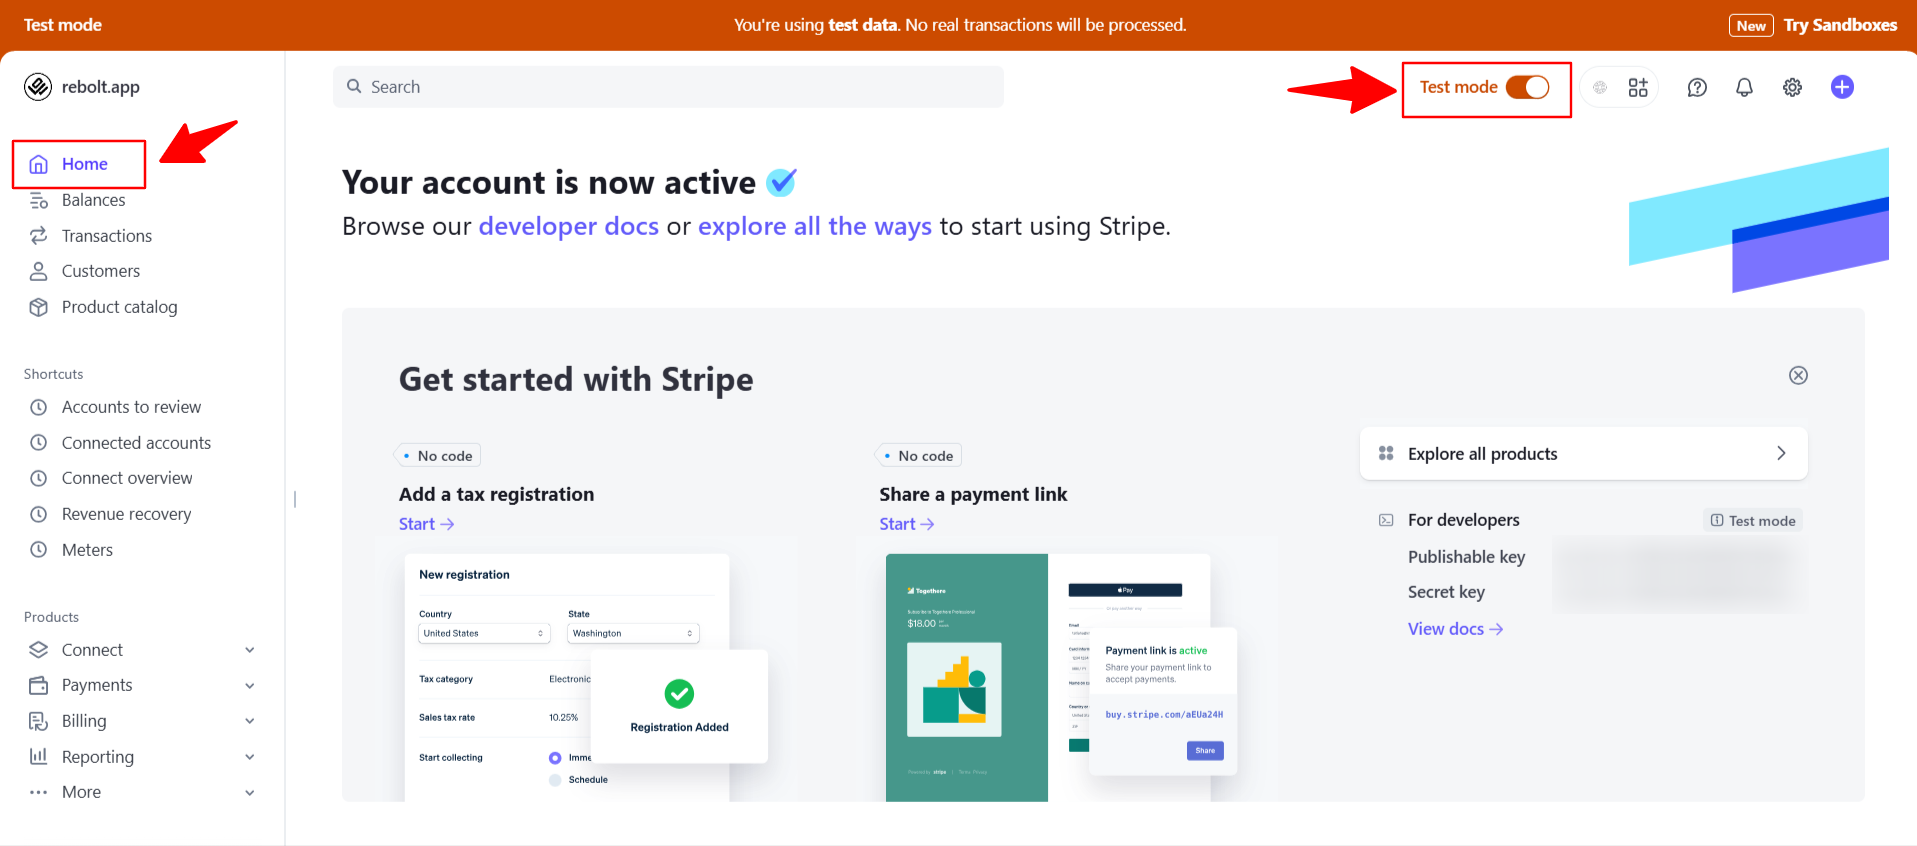
Step 5: Test and Go Live
- Before making your form live, test the payment flow using Stripe’s Test Mode.
- If everything works as expected, switch to Live Mode in the payment settings.
- Start accepting payments securely through Rebolt Forms.
Final Thoughts
Integrating Stripe with Rebolt Forms streamlines the payment process for businesses, making transactions seamless and secure. Whether you're selling products, collecting donations, or offering paid services, this integration ensures a smooth payment experience for your customers.
By following this step-by-step guide, you can easily connect Stripe payments in Rebolt Forms and start processing payments with ease. Have questions? Reach out to Rebolt Forms support for assistance!
Sign Up your free Account & Create Unlimited Forms
Create highly customizable and user-friendly online forms instantly using Rebolt's drag-and-drop feature.
